Friends First Friday Cake - Banoffee.
This week's Friends First Friday Cake I made for my Finnish friend Ella who came to visit for the weekend. Lots of girltime - shopping in Dublin, walks on the beach, talks on the sofa...
My sincere apologies for not updating this blog for two days.
So, besides not posting anything here, I tried to plan my weekend cakes quick but tasty. Friends First Friday Cake was to be served as dessert on Friday evening so I made a more dessert-like one - Banoffee, that is. No baking and, yes, it is cheating to use a can of caramel sauce instead of cooking the sauce yourself... Earlier that day I had baked 26 donuts and for a moment I thought I would call the neat pile of them a cake but that sure would have been cheating!
Banoffee
200 g Digestive Cookies, crumbed
100 g butter, melted
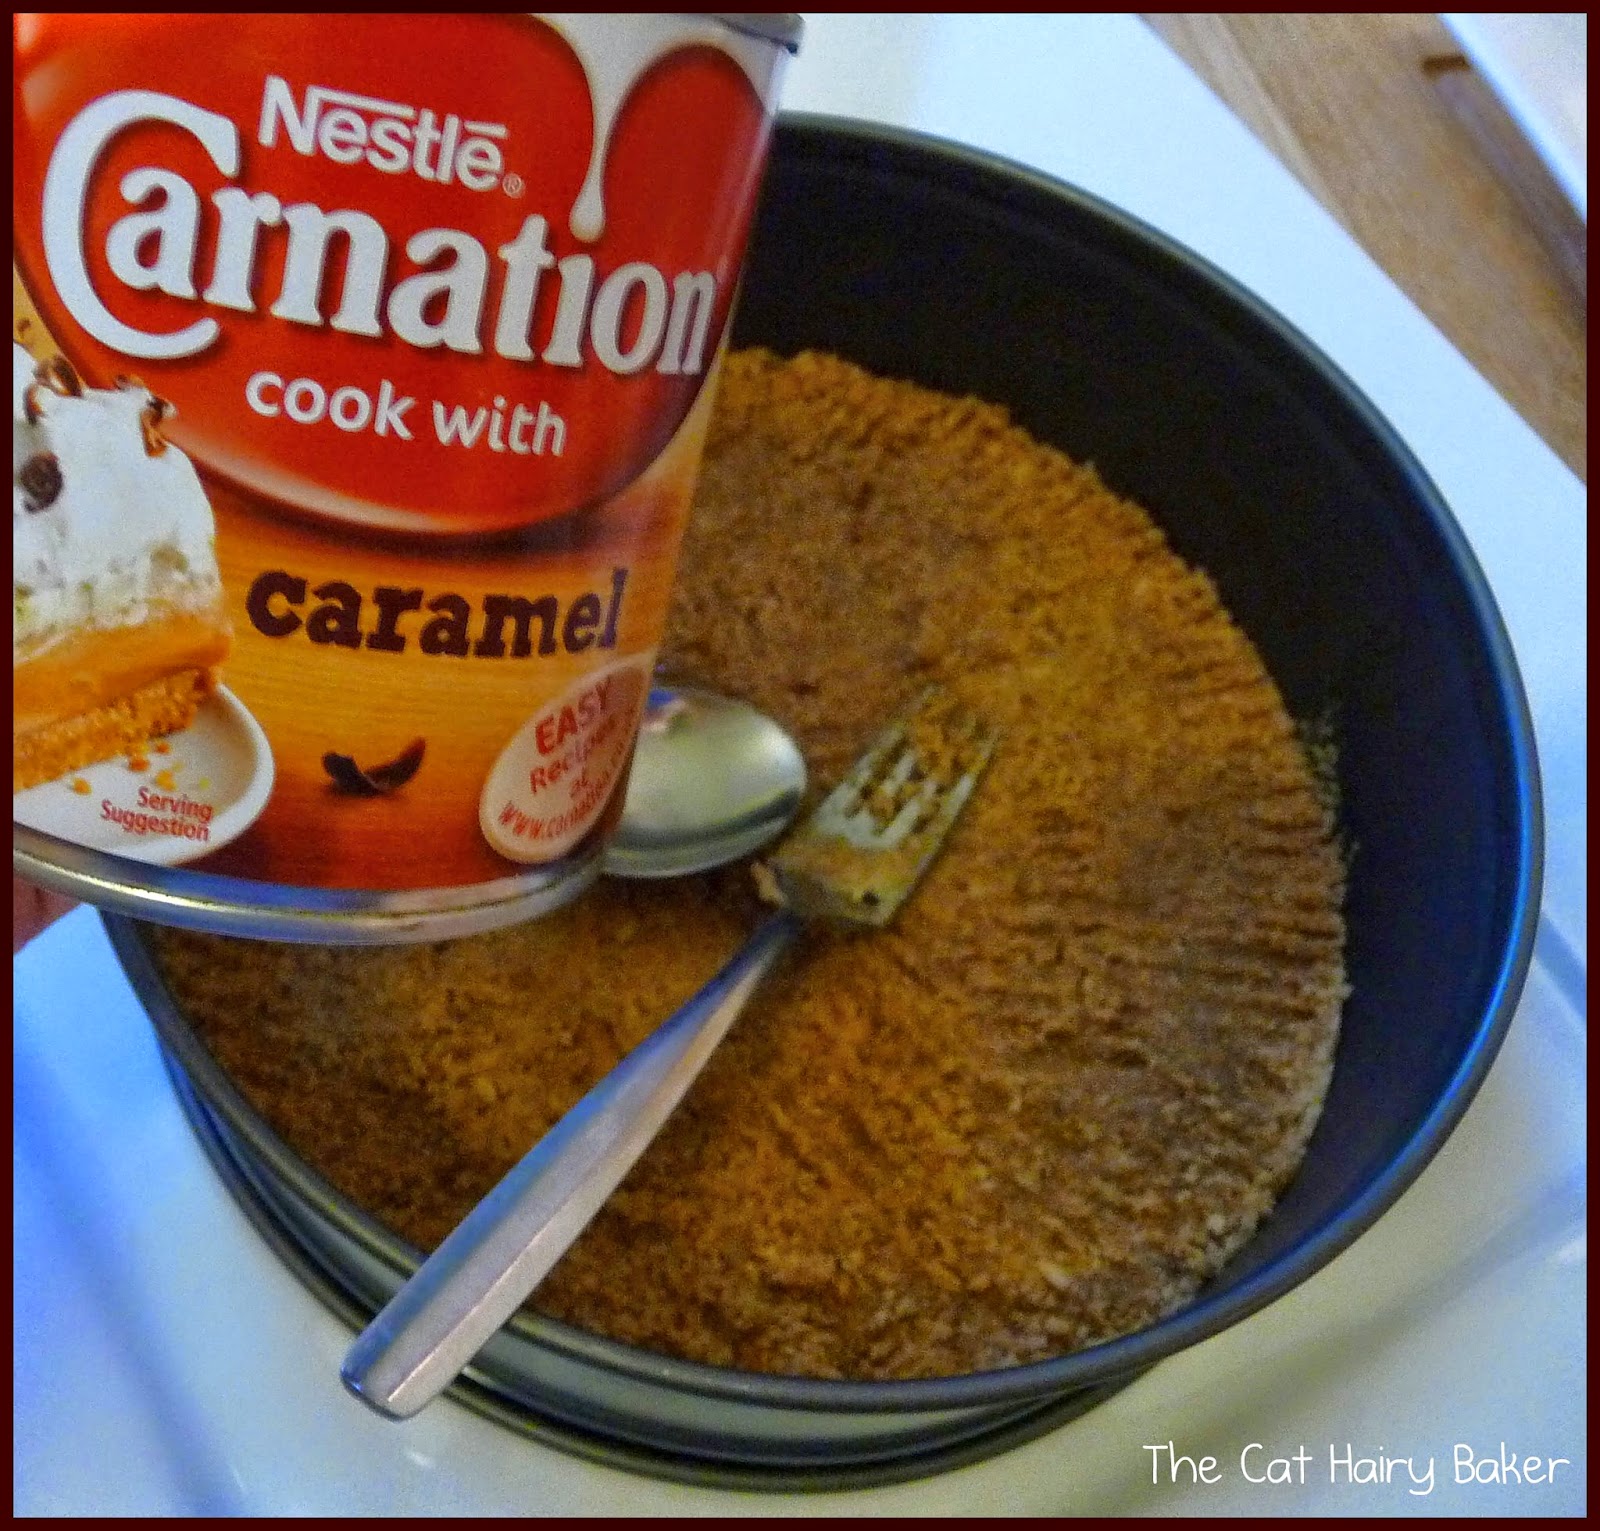
can of caramel sauce
3-4 bananas
300 ml fresh cream
50 g milk chocolate
1. Mix the digestive cookie crumbs and melted butter. Press the mixture straight on the serving plate, using a springform pan as the frame.
2. Spread the caramel sauce on top of the base.
3. Slice the bananas and place on the cake.
4. Whip the cream and spread to cover the bananas.
5. Last, grate the chocolate and garnish the cake with it.
6. Remove the springform pan frame around the cake and serve immediately. Do not refrigerate more than a couple of hours as the bananas start turning black very quickly.